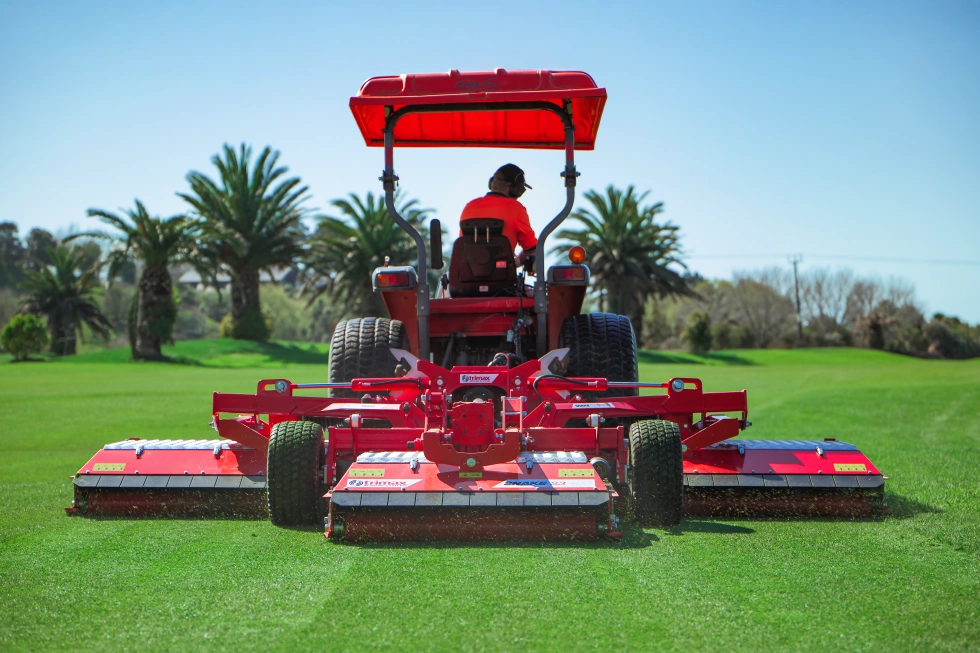
Flail mowers are designed for tough mowing conditions, delivering safe, controlled cutting and fine mulching across a wide range of applications. To keep a flail mower performing at its best, regular inspection and correct maintenance of flails and hardware are essential. Proper care not only maintains cut quality but also protects the rotor assembly, bearings, and overall machine integrity.
At Trimax, we recommend routine checks and timely replacement to maintain balance, safety, and long-term reliability.
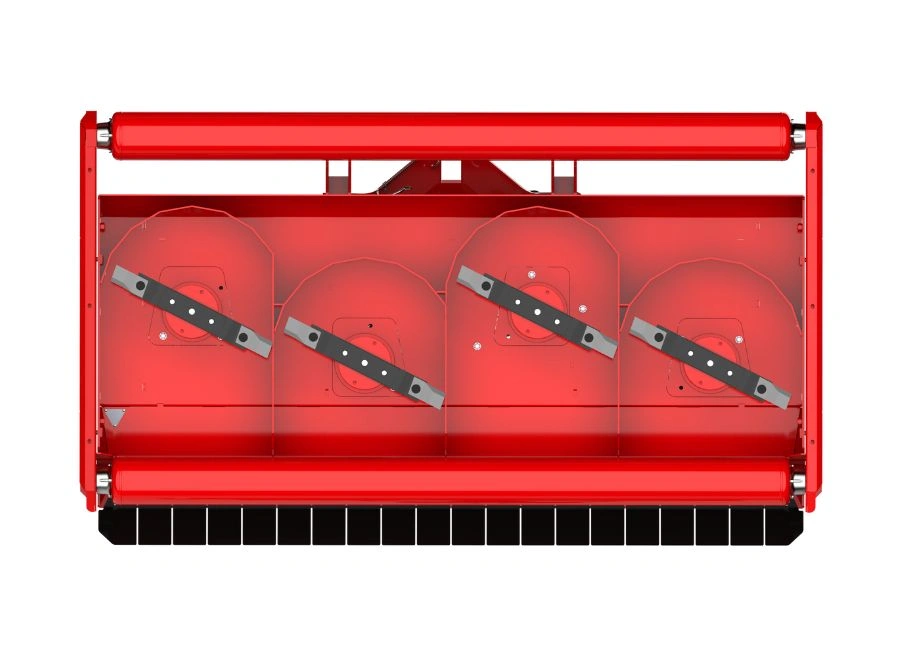
Inspecting and Maintaining Flails
Flails should be checked regularly for wear and damage. Depending on their condition, they may be sharpened or replaced to restore cutting performance. One critical rule applies to all flail mowers: all flails on a rotor must be uniform in condition. Mixing worn and unworn flails can cause imbalance, leading to vibration and premature wear of other componentry. Best practice is to sharpen or replace all flails at the same time, ensuring even weight distribution across the rotor.
Flails should be replaced if the cutting edge becomes scalloped or curved, or if uncut strips begin to appear during mowing. These are clear indicators that cutting efficiency has been compromised and that sharpening alone may no longer be sufficient.
Nuts, Bolts, and Bushes Matter
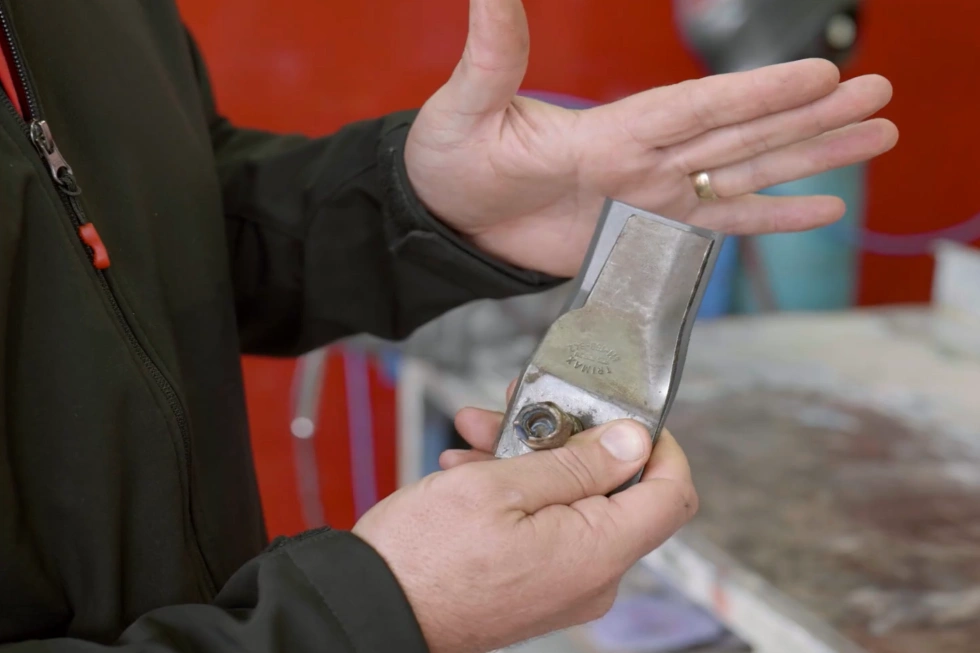
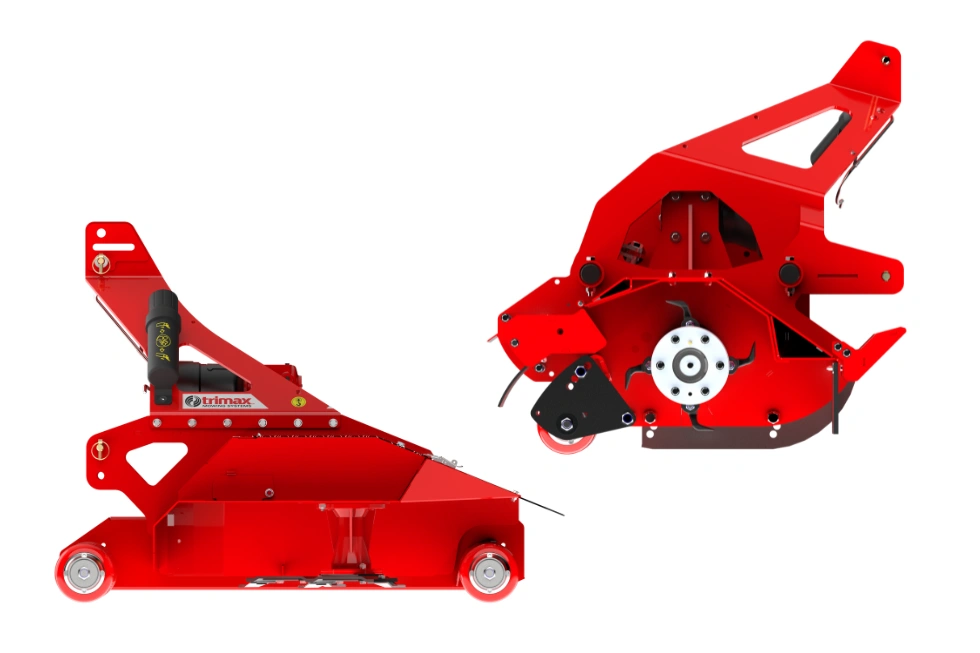
Flail hardware plays a critical role in safe and reliable operation. On Trimax FlailDek and Ezeemow models, a new bolt, bush, and Nyloc nut should be fitted each time a flail is replaced. On Trimax Warlord and Force models, a new Nyloc nut should be fitted, provided the bolt head and threads are not damaged.
Bolts, nuts, and bushes must be replaced if there are signs of significant impact to the flail, bolt head, or nut. They must also be replaced if exposed threads are damaged or if the bolt head has worn to a sharp edge. Where applicable, bushes should be replaced if they show signs of wear. Failure to replace worn hardware can result in rotor imbalance, unsafe operation, or component failure.
Gamma Flails: Built for Performance
Trimax Gamma Flails are manufactured from hardened steel and are designed to be self-sharpening to a degree during operation. Their aerodynamic design reduces wear while improving cutting efficiency, particularly in demanding conditions. The result is longer service life and more consistent performance over time. More information about Gamma Flails can be found here.
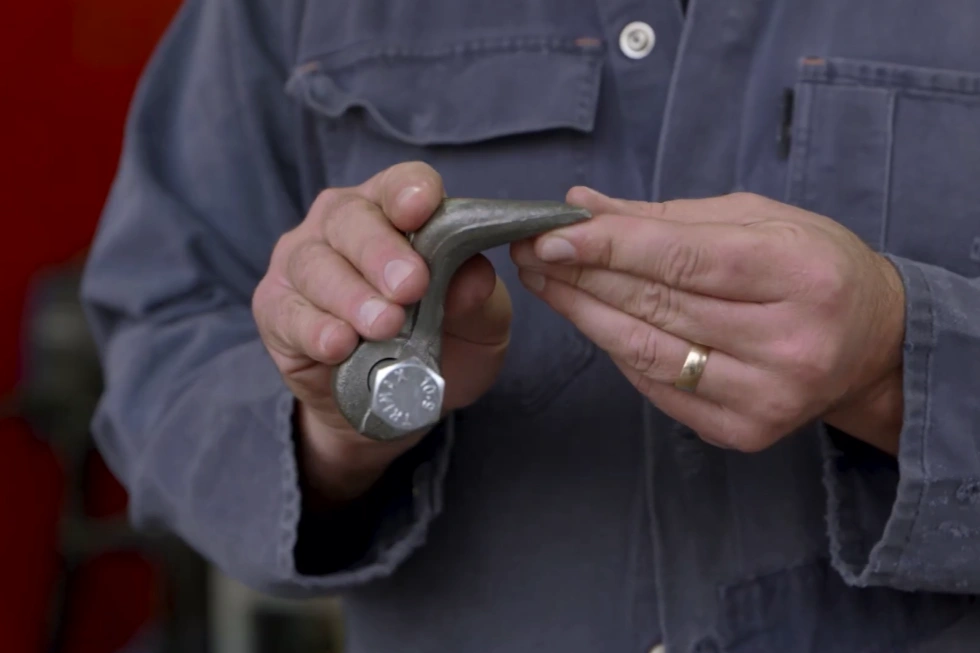
Sharpening Flails Safely and Correctly
Flails can be sharpened, but safety must always come first. Proper procedures and protective equipment are essential.
Before sharpening, ensure there are no bystanders and remove the mower from the tractor. Secure the mower so it cannot roll unexpectedly, then access and secure the rotor. Rotate the rotor and block it from moving. Each flail should be supported so the cutting edge is accessible. Sharpen only the angled rear edge using a disc grinder. The front face must not be ground. Maintain an angle of approximately 50 degrees and apply only light pressure to avoid overheating the metal.
All flails must be sharpened equally to preserve rotor balance. Once sharpening is complete, return mowers such as the Trimax Flaildek and Ezeemow to their upright position safely before operation. For Trimax mowers Force and Warlord, return the discharge flap (rear service door) to its operating position.
Why Balance Is Critical
Flail rotors are dynamically balanced at the factory. Uneven wear, mismatched flails, or improper sharpening can disrupt this balance. An imbalanced rotor can lead to excessive vibration and, over time, cause structural damage to the mower. Maintaining an even flail condition and correct sharpening practices is essential for safe operation, long-term durability, and optimal mowing performance.
Key Takeaways
Regular inspection is the foundation of flail mower performance. Replace or sharpen flails early, keep hardware in good condition, and always maintain uniformity across the rotor. Correct maintenance protects your equipment, improves cut quality, and ensures safe, reliable operation.
For more tips on flail maintenance, watch the video below.